As you might suspect, cooking is a challenge for someone with a corn allergy. We have a very limited pool of safe ingredients to use. We’ve spent about 18 months, so far, sorting out safe ingredients and brands and we are slowly adding to our repertoire of available items. We have learned the art of creative substituting when cooking/baking. I will say, though, we are extremely blessed to have an amazing farm market near us and we are able to purchase 90% of our groceries from them year round. (If you live in Maryland, we highly recommend Local Homestead Products in Marston) Anyway, all of that is to say, when we find a new recipe we can make, we celebrate. And when everyone in the family loves that new recipe, we REALLY party! (And a bonus is that this homeschool mom makes it educational by having the kids help make it!)
Our most recent addition to our recipe book is homemade tortellini. Tortellini was one of my favorite dishes to order when we lived in Europe and I have been missing it, so I decided it was time to try my hand at it. However, there’s one big catch, we do not have a safe ricotta cheese. Here is where that creativity in substitutions comes in. I knew I needed a creamy, cheesy base for the filling, so I thought I’d try to make a thicker version of the filling I use for our hot pockets. I added more flour and more cheese and it worked out nicely. I may not be the best judge since I haven’t had actual ricotta in years, but I could barely tell the difference.
Here’s what I did step by step to make our homemade tortellini. Also, just a warning, I’m HORRIBLE about measuring things..I kinda just wing it. These amounts are all estimated, but this should give you a decent idea of what I did.
This made enough Tortellini for 6 of us to eat and have a little bit leftover.
Ingredients:
2 Pints Heavy Cream (split)
Garlic Powder
Salt
Basil
⅓-½ C shredded Cheese (any dry, aged cheese)
1-2 C Chopped Spinach (or more!)
⅓ – ½ C Butter
4ish Cups of Flour (3C is for the dough)
Pepper
Thyme
Paprika
1 onion, chopped
⅓ – ½ C Water
3 Eggs
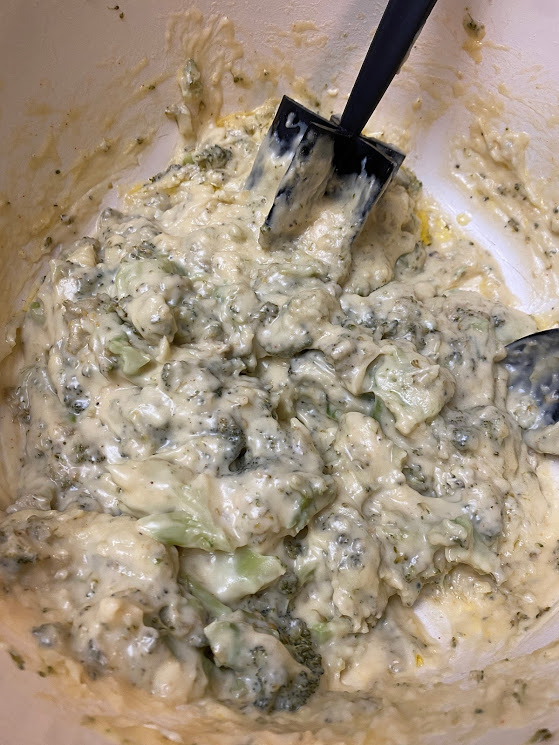
Filling:
- Boil a pint of heavy cream until it starts to thicken and reduce.
- Stir in a flour paste (1-2 TBSP flour mixed with 1-2TBSP water) until the filling gets to a consistency that is paste-like
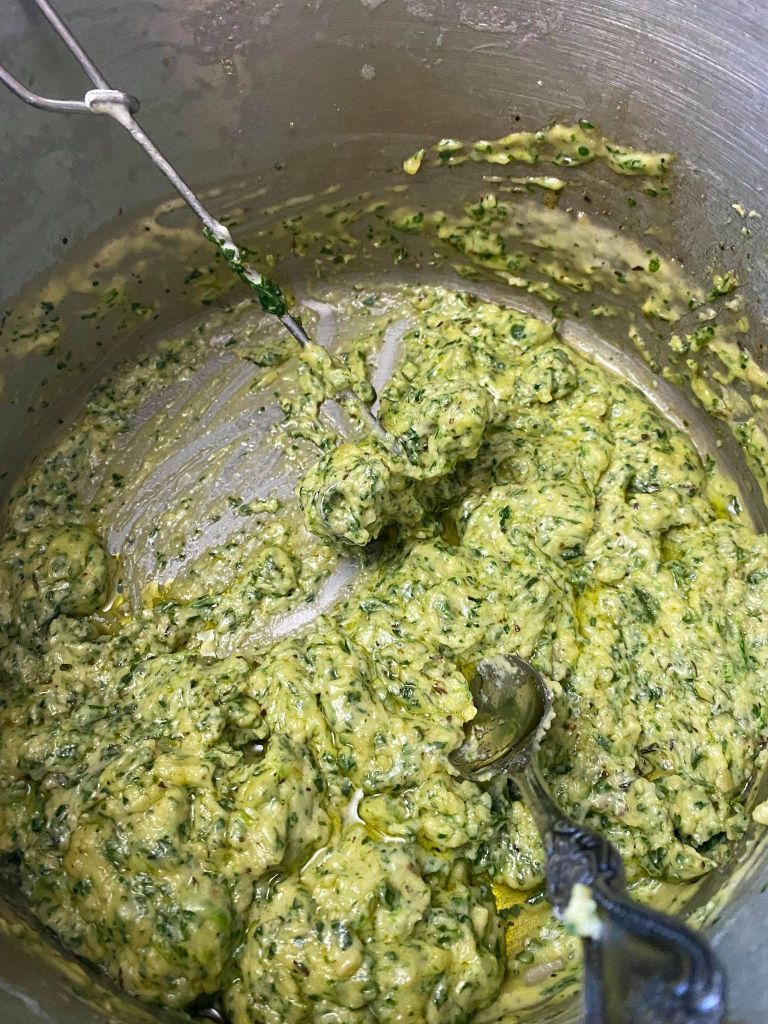
- Mix in garlic, salt, pepper, thyme, basil, paprika, and cheese (we use Dubliner, but you could use Romano or Parmesan).
- Add in finely chopped fresh spinach
- Let cool
Of course, if you have ricotta, you could just use that with spinach and some cheese and seasonings.
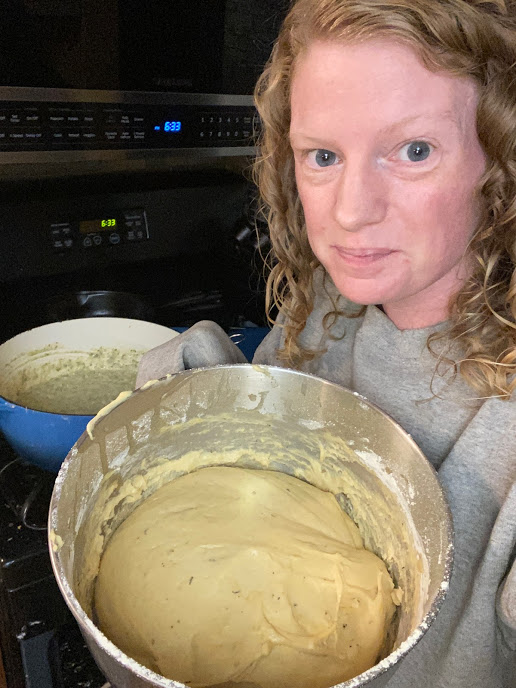
Pasta:
- Add 3 C of flour in a mixing bowl and make a well in the middle of the flour
- Add 3 eggs into the well
- Start to mix with a dough hook (we used our kitchenaid…you could do this by hand and no dough hook)
- Slowly add water until dough forms (probably only a few TBSPs. You may not use all the water)
- I also added some melted butter (2TBSP) just to make the dough easier to work with (this may not be necessary for most flours, but we have a specialty, lower gluten flour, so butter helps it be less sticky)
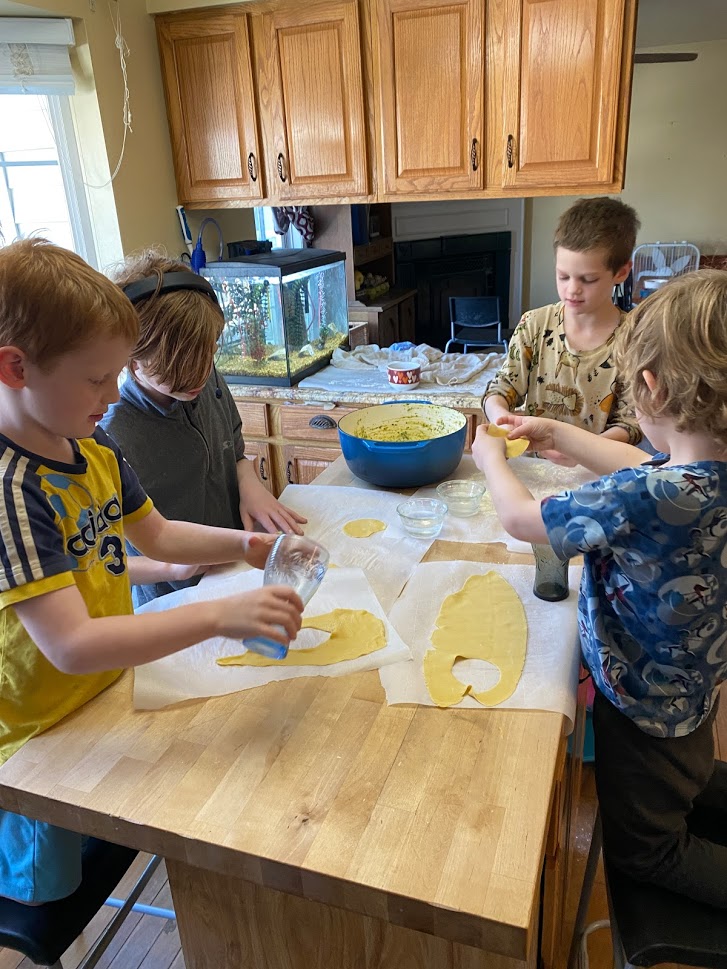
- Roll the pasta out thin. (On the kitchen aid pasta roller I used 6 or 7 on the dial)
- On a lightly floured surface, cut the sheet into squares. (I just used a pizza cutter) We also have done circles and used cookie cutters or round glasses.

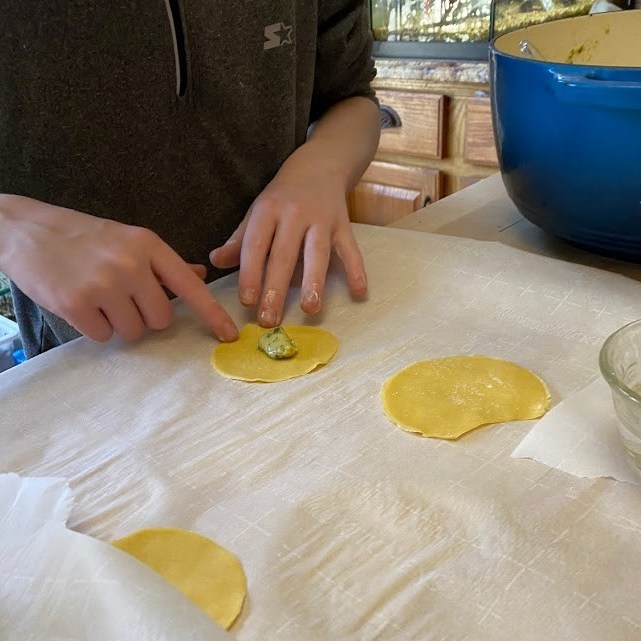
- Add a dollop of the filling into the center of a square or circle.
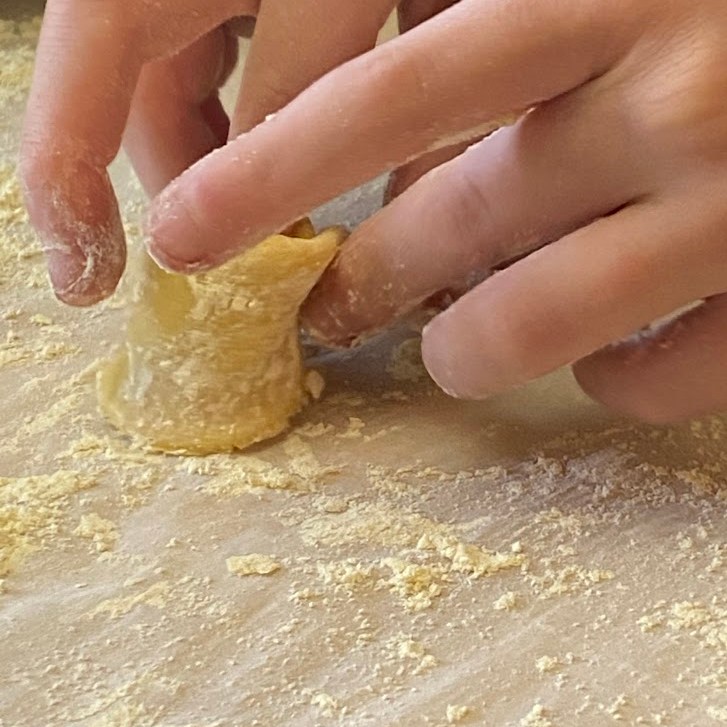
- Dip your finger into some water and get the edges of the square/circle wet. Then fold into a triangle/half moon and press down the edges. Then take the sides of the triangle/half moon and bring them together and press so they stick.


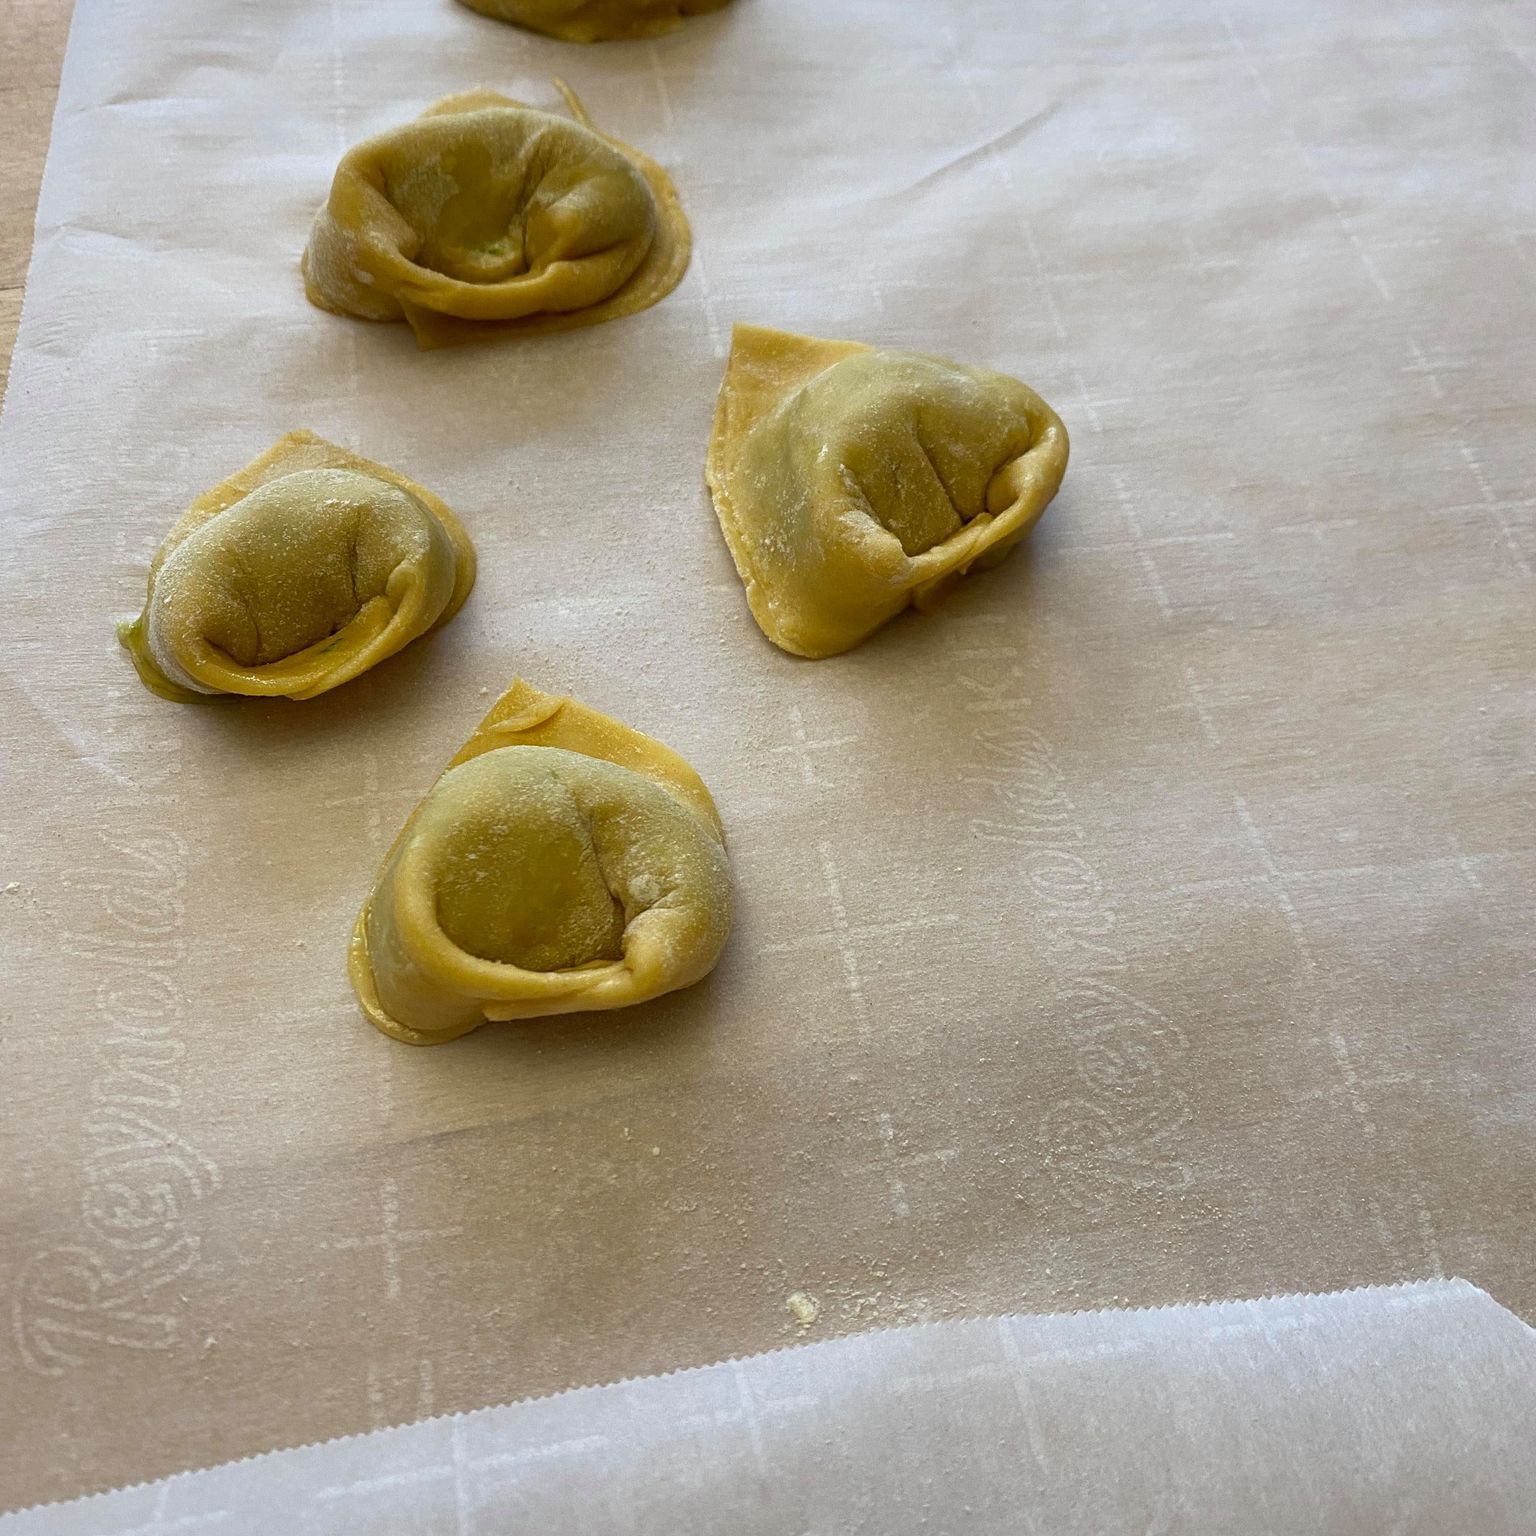
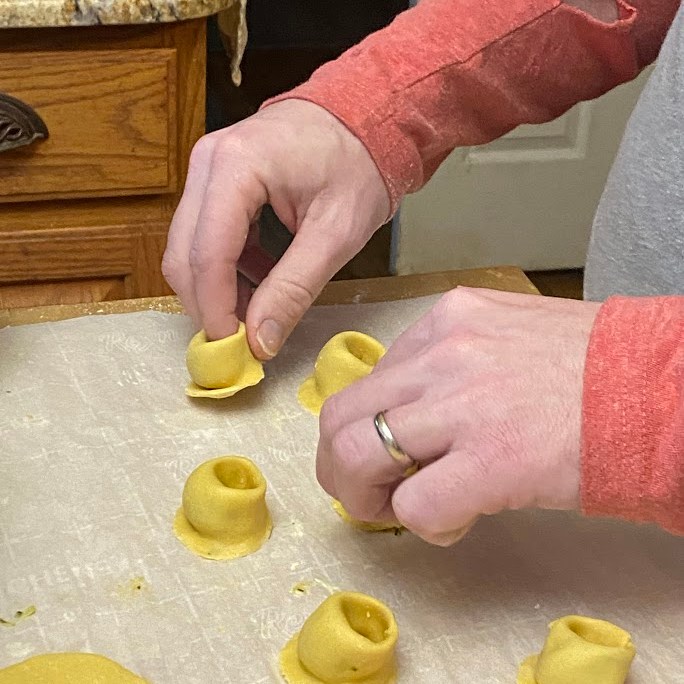
- Keep the unused dough and the tortellini covered with a kitchen towel. They will dry out easily.
- Once they’re all made, toss them in boiling water. They’ll float when done
- Remove the floating tortellini with a slotted spoon and add to your sauce.

Sauce:
- Sautee a chopped onion in 4TBSP butter.
- Add 4TBSP flour to make a roux and then whisk in a pint of heavy cream.
- Whisk occasionally until thickened.
- Add seasonings (we used garlic, pepper, salt, thyme, basil, and a little more cheese)
- Then add the cooked tortellini into the sauce and serve. (you can also add some shredded cheese on top)